
Why this article?
As a conscientious maker of horns, I am very keen that the buyer enjoys his instrument for a very long time. The life span of an Engelbert Schmid horn can be almost unlimited, but any other make can also last a very long time if it is treated correctly. It is generally a fact that horns, and brass instruments in general, rarely die from being played; as a rule they are destroyed by repairmen who do not know the craft. Many of them are not repairmen but “destroymen”. Why these “experts” of all people? Because they have never built a valve set and have never had to fight for every hundredth of a millimetre in production.
The principle of a valve
When wet, the valve must be airtight in its inner sealing area, even under the air pressure of fortissimo playing. For this, the tolerance in diameter between rotor and casing has to be between 5 and 8 hundredths of a millimetre. We aim to achieve 5/100 mm throughout, which is the minimum for well-running valves. New valves from good makers are normally so tight that the instruments produce a very good ff right from the start. During the first 6 months the valves become even tighter because of oxidation and deposits. This is one of the reasons why horns get even better after a certain playing-in period.
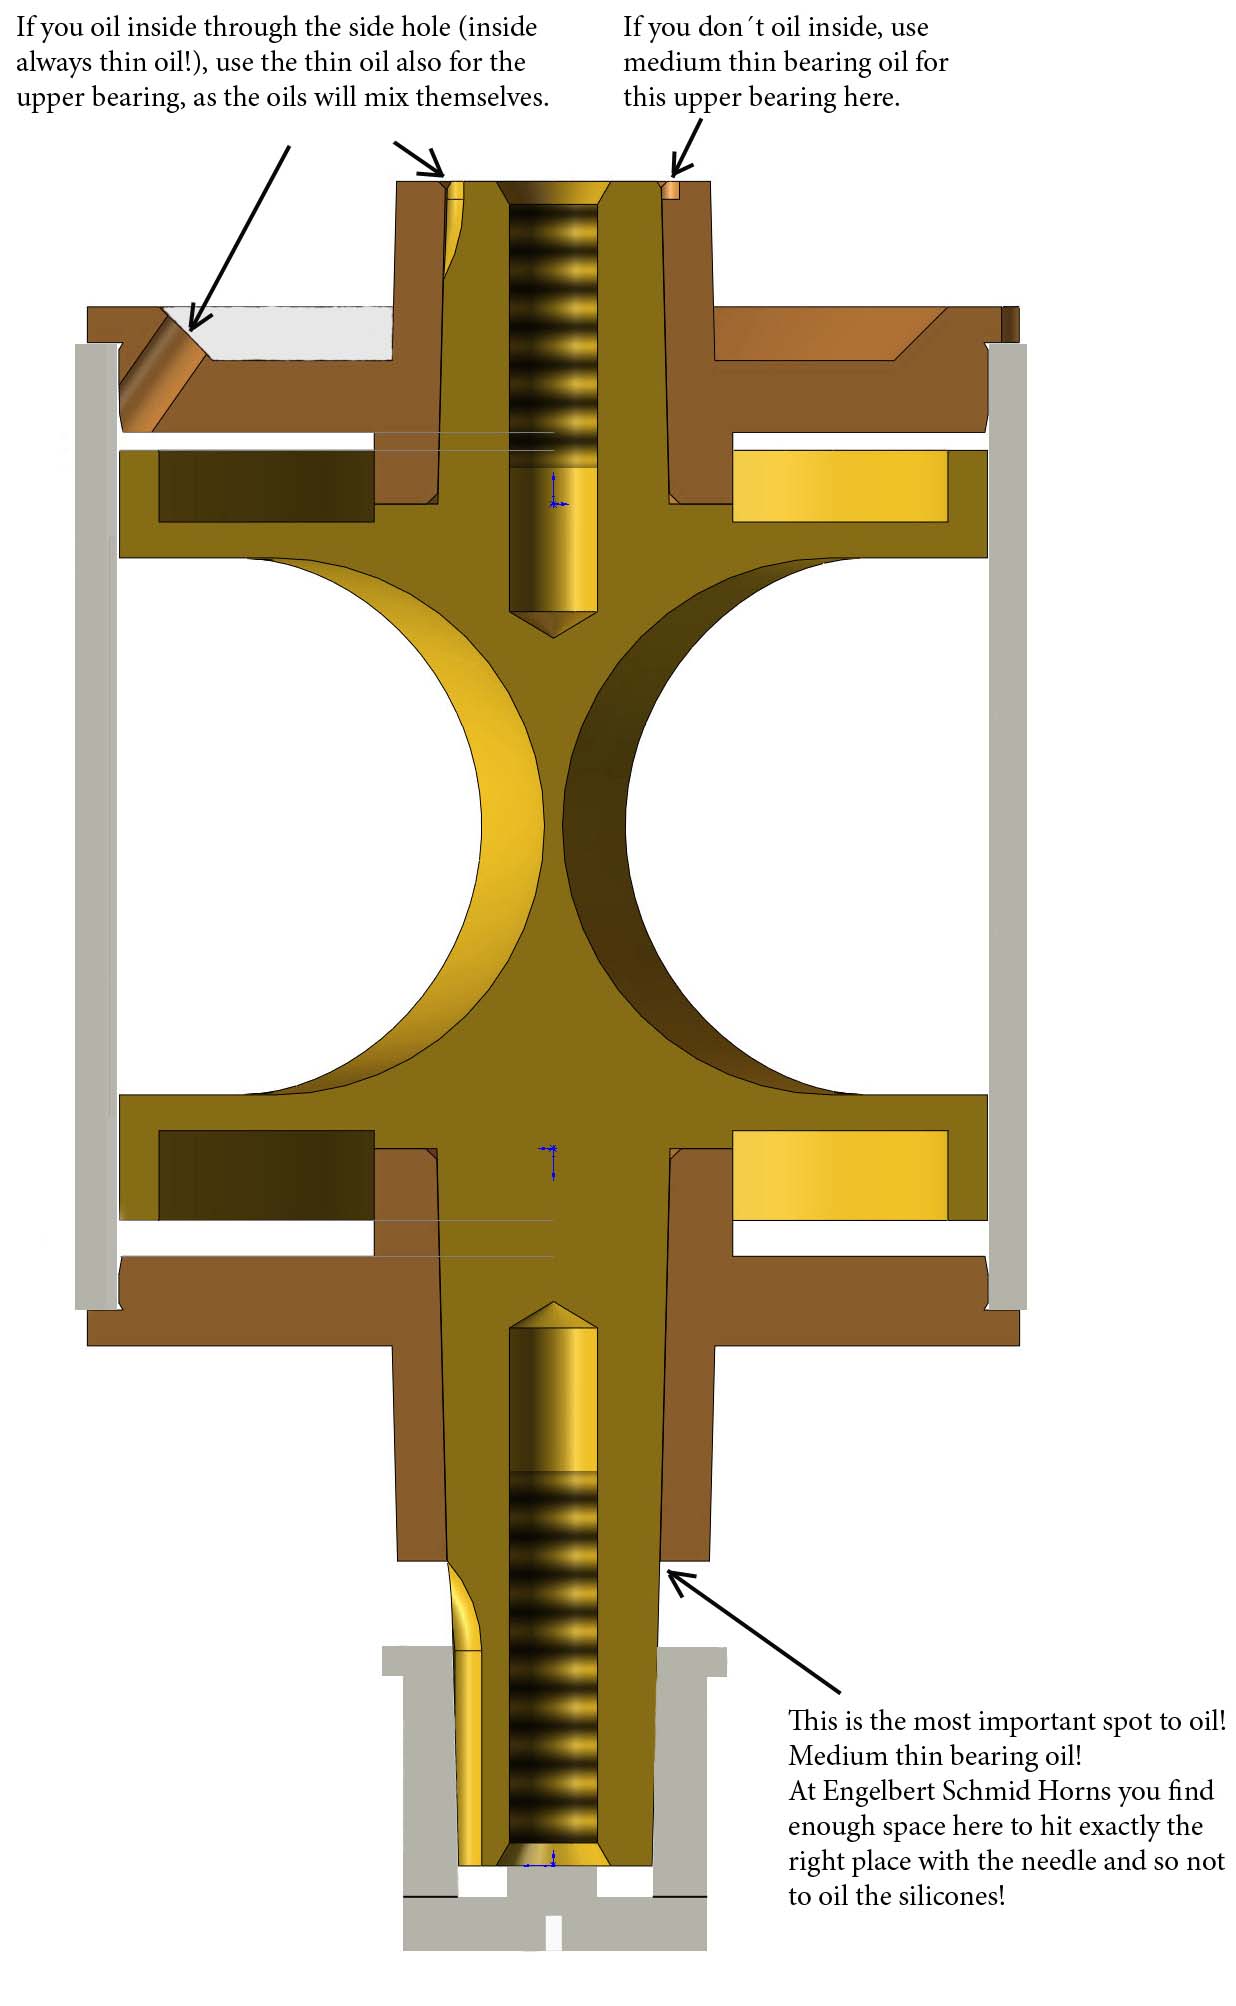
The valve bearings, however, need even less tolerance – the less, the better. Within 2/100 mm in diameter is ideal and possible. This way the valve runs on the bearings, which should always be oiled. If there is no oil in the bearings, condensation water – and with it lime deposit – can get into them. Inside, the valve floats in condensation water or in thin valve oil. The bearings need medium-light oil that does not evaporate quickly.
Most valve running problems are caused by a lack of oil in the bearings, which lets lime deposit get into them (lime is a very poor lubricant), or by bearings with too much tolerance, so that the rotor, normally covered with lime, can touch the casing, which is just as covered with lime.
Advice for the repairman
How should valves be treated so that they run reliably and do not wear out? Here is my advice.
Tools
- Reseating tool with clamps (e.g. from Böhm in Neustadt, www.boehmtools.de) – essential
- Bench motor with clamps for reseating the upper bearing plates
- Crank for turning the rotor
- Triangular scraper
- Grinding powder, grit 1,200 (only if you have reseated too much)
- Cloth
Reseating the bearings
The most important repair in every overhaul is reseating the bearings so that there is no side play at all, and reseating the upper bearing plate to eliminate any up-and-down play. For reseating you absolutely need a reseating tool with clamps. A clamp produces a triangle.
- Reseat the bearing with the clamp.
- Turn the tool by 60° and reseat again. This produces a hexagon and thus, in practice, a circular reseating.
- Then move the tool halfway up the bearing and repeat the procedure in both positions.
That means 4 short steps per bearing! Only then have you reseated correctly along the whole length. Develop a feeling for the right amount! If you have reseated too much, you have to lap the rotor axle in the bearing carefully with grinding powder of grit 1,200 (which means that 1,200 grains fit on 1 square mm) and then remove the grinding powder absolutely completely.
Never lap, polish or put rotors in a bath
Never lap the inside of the valve, and never – one million times never – put the rotor into any bath to remove the lime deposit, let alone polish it! There is no bath in the world that removes lime deposit without attacking the metal. Even if you only remove the oxide, it is a loss of metal. Very quickly you reach the barely acceptable tolerance of 8/100 mm, and next time the no longer acceptable 10/100 mm. You have destroyed the instrument!
Be aware: if you remove only 1/100 mm of material, this already adds up to 4/100 mm more tolerance in diameter (1/100 mm on each side of the rotor and 1/100 mm on each side of the casing). You have reached the 10/100 mm tolerance and destroyed the instrument – and that as a “specialist”! You should be held responsible for a replacement instrument and be banned from your profession. Please don’t be shocked, but think about it! In the end you will be grateful to me for this blunt advice.
Removing lime deposit correctly
- Remove the upper bearing plate.
- Turn the lime-covered rotor in its own soup with a crank to loosen the excess lime deposit.
- Wipe the loosened lime deposit away with a cloth.
- Remove excessive lime deposit in the air passage with the triangular scraper.
The remaining lime deposit is positive! It makes the rotor rounder (no turned part in the world is absolutely perfect), the film of liquid in which the rotor floats becomes more even, and the valve runs better.
Decalcifying the instrument
If the player produces very heavy lime deposits, the instrument will eventually have to be decalcified without the rotors and bearing plates. Do this as rarely as possible – perhaps every 5 years – and then only for a minimum of time. In our workshop we watch closely until the lime is gone and then neutralise the instrument immediately. About 1 minute in 15% sulphuric acid is enough. Many repairmen thoughtlessly (“the more, the better”) put the instrument in acid for 1 hour and thus cause 60 times the metal wear on the casing!
With responsible decalcification and correct treatment of the rotors, a valve set can indeed remain functional for 100 years, even with professional use of the instrument. The staggering reality in repair shops is a life span of 5 to 10 years.
Reseating the upper bearing plate
For reseating the upper bearing plates it makes most sense to get a bench motor with clamps. This is quicker than on the lathe, and the work by hand gives better results:
- Clamp the bearing plate in carefully.
- Centre the plane.
- Remove the few hundredths of a millimetre needed by hand.
Oiling points on Engelbert Schmid valves
Here you can see both sides of Engelbert Schmid valves from the outside:
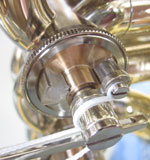
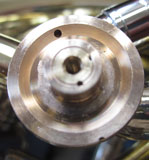
On Engelbert Schmid horns there is enough space on the stopper side between stopper and bearing, so you can easily reach the right corner for oiling without oiling the silicones. On the screw cap side, the right spot for oiling is at the air marks. Thanks to the geometry of the air marks on Engelbert Schmid horns, the oil creeps very well into the whole inner bearing area. If oiling inside with thin valve oil is needed, it is done through the side hole, without the danger of washing slide grease into the valve.
Acid baths at the customer’s request?
Do not let customers’ exaggerated demands force you into using acid baths! Of course the valve runs very quietly afterwards, because the tolerance inside has been enlarged. If you only rub off the lime deposit, a slight grinding noise may be audible at first. Convince the customer that it will disappear within a few hours. Of course the valve must run perfectly, but we have always been able to make customers understand minimal grinding noises.
Mistreated valves
For mistreated and therefore leaking valves of the traditional brands there is usually no satisfactory repair. Enlarging the rotors by electroplating (rebuilding the valves) can bring relief for a while, but often does not restore the necessary tightness and never restores the original running qualities. Replacing the whole valve set with a new one is expensive and often changes the instrument.
On Engelbert Schmid horns, mistreated valves can always be completely repaired – at a reasonable price! With this valve system the rotors can easily be exchanged, and the valve is restored to new condition. In the rare case of too much metal loss in the casings, these are recalibrated 1/10 mm larger and correspondingly larger rotors and bearing plates are fitted.
So should I just let things carry on like this? No – it pains me again and again to see how long horn players struggle with inefficient, leaking horns, and that they usually have to pay for the not exactly cheap repair themselves, because they cannot hold anybody responsible for it.