
Why this article?
As a conscientious maker of horns, I am very keen that the buyer enjoys his instrument for a very long time. The life span of an Engelbert Schmid horn can be almost unlimited, but any other make can also last a very long time if it is treated correctly. It is generally a fact that horns, and brass instruments in general, rarely die from being played; as a rule they are destroyed by repairmen who do not know the craft. Many of them are “destroymen”. Why these “experts” of all people? Because they have never built a valve set and have never had to fight for every hundredth of a millimetre in production.
The principle of a valve
When wet, the valve must be airtight in its inner sealing area, even under the air pressure of fortissimo playing. For this, the tolerance in diameter between rotor and casing has to be between 5 and 8 hundredths of a millimetre. We aim to achieve 5/100 mm throughout, which is the minimum for well-running valves. New valves from good makers are normally so tight that the instruments produce a very good ff right from the start. During the first 6 months the valves become even tighter because of oxidation and deposits. This is one of the reasons why horns get even better after a certain playing-in period.
The valve bearings, however, need even less tolerance – the less, the better. Within 2/100 mm in diameter is ideal and possible. This way the valve runs on the bearings, which should always be oiled. If there is no oil in the bearings, condensation water – and with it lime deposit – can get into them. Inside, the valve floats in condensation water or in thin valve oil. The bearings need medium-light oil that does not evaporate quickly.
Most valve running problems are caused by a lack of oil in the bearings, which lets lime deposit get into them (lime is a very poor lubricant), or by bearings with too much tolerance, so that the rotor, normally covered with lime, can touch the casing, which is just as covered with lime.
Oiling the valves correctly
How should valves be treated so that they run reliably and do not wear out? Here is my advice for horn players.
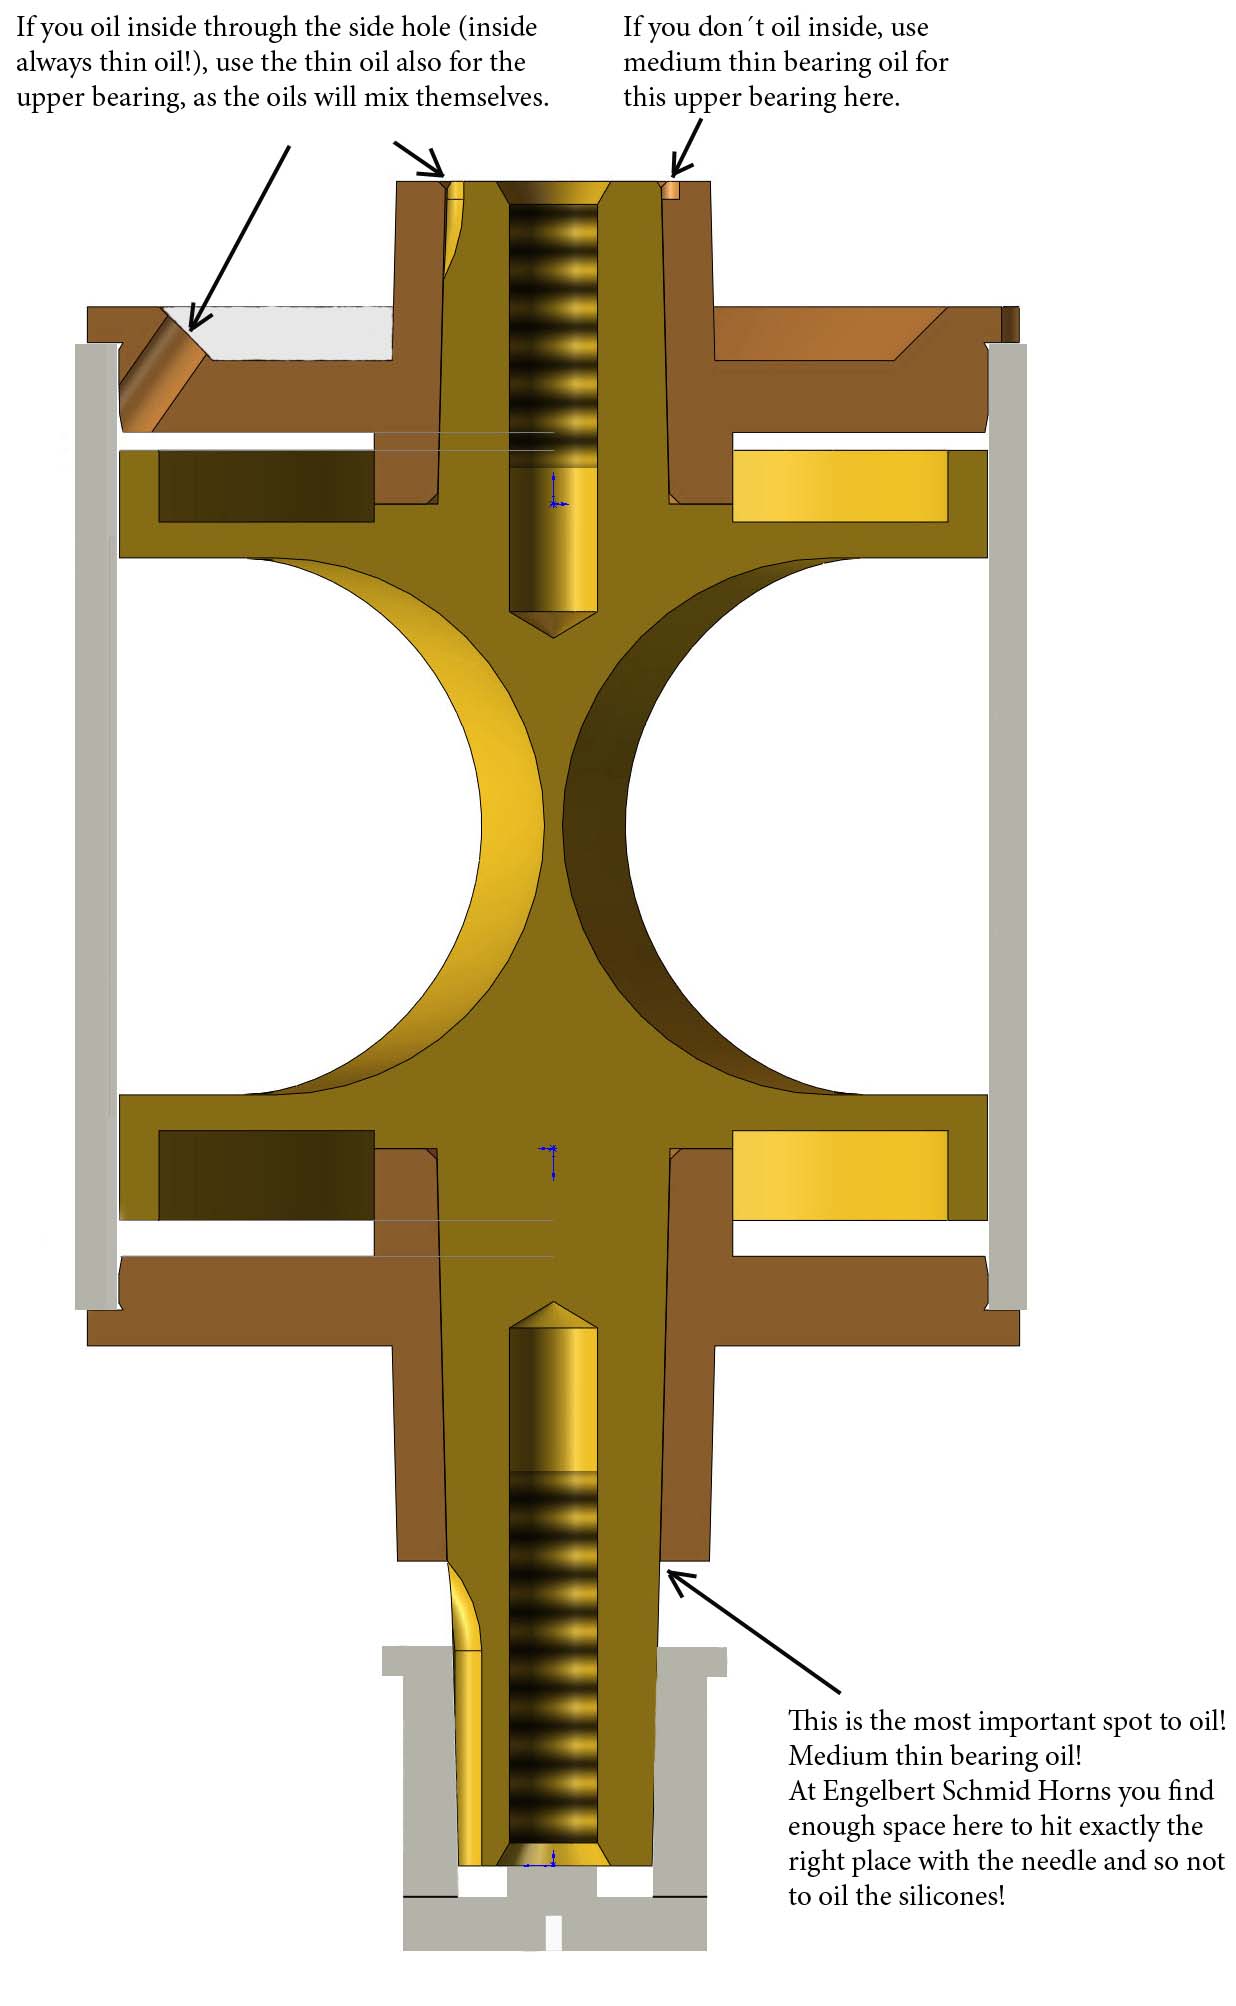
Bearing oil in the bearings prevents wear and contributes a great deal to reliably running valves.
- How often: once a month, every 2 weeks in hot summer months.
- Actuation side: half a drop exactly into the corner between stopper and bearing.
- Screw cap side: the right spot for oiling is at the air marks.
On Engelbert Schmid horns you have easy access to the right spot on the actuation side. With the needle of the oil bottle you can easily hit the right corner and so avoid the fatal mistake of oiling the silicones. Meanwhile we have black silicones that are oil-resistant, stop perfectly quietly and last for many years. On the screw cap side of Engelbert Schmid horns, the oil creeps very well into the whole bearing area thanks to the design.
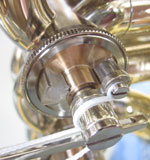
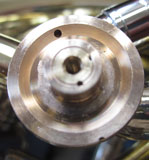
Two methods of oiling
At this point I would like to explain the two methods of oiling. Both make sense.
A) Oiling only the bearings, not the inside: This is the method commonly used in Germany, and in principle it works well. However, you have to develop a feeling for the right amount. If you oil the bearings too little, condensation water and with it lime deposit get into the bearing, which blocks the valve. If you oil too much, the not-so-thin bearing oil creeps into the inner sealing areas and makes the valve sluggish – not blocked, but slow. The right amount is half a drop or a small drop once a month, and every 2 weeks in summer in dry, warm weather. Advantage: if the tolerance in the sealing area is a little too large, the lime deposit will make the valve somewhat tighter again over time.
B) Oiling inside and outside: This is the common method in the USA, for example. On Engelbert Schmid horns you do not need to oil through the slides! You hit exactly the right spot by oiling through the side hole in the upper bearing plate, without the danger of washing in slide grease. Advantage: you can over-oil the bearings from the outside, as oiling inside dilutes everything again. The oil spreading through the horn slows down red rot on yellow brass horns – the red spots under the lacquer. Disadvantage: because there is always oil inside, hardly any lime deposit builds up that would make leaking valves tighter.
Your repairman and acid baths
Understandably, but unfortunately, many brass players consider a repairman superb if the valves run absolutely silently and freely after the repair. This often results from enlarging the tolerance in an acid bath. That may work out once or twice, but at the next repair the loss of metal is suddenly too great and the instrument has been repaired to death. Of course the valves must run perfectly, but accept minimal grinding noises! They disappear after a few hours of playing.
Removing and cleaning a valve yourself
If you feel skilful enough, you can remove a valve yourself, clean it and reinsert it. Please also read the repair guidance for repairmen.
Tools
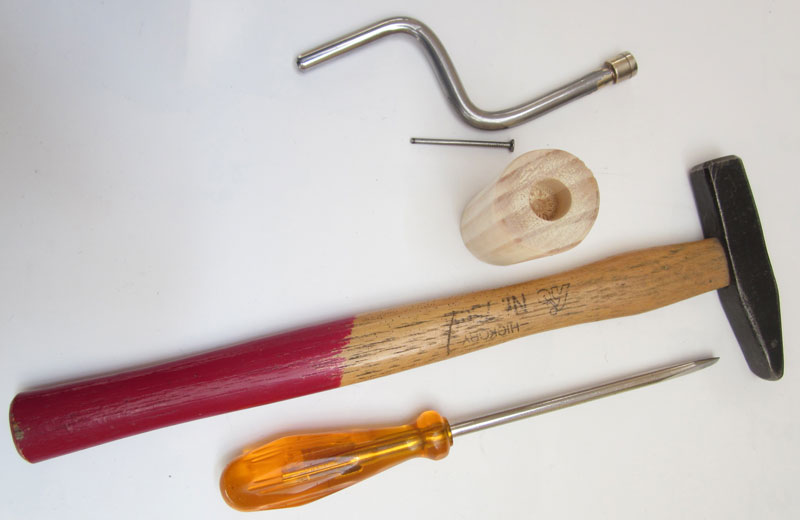
From the maker or repairman of your instrument you need 3 small items:
- a crank
- a nail with a filed-down tip (approx. 2.3 mm)
- a wooden plug with a hole at one end
You will have a light hammer and a screwdriver yourself.
Step by step
- Remove the screw cap and the central screw on the actuation side.
- Put the blunt nail into the thread and carefully knock the rotor out of the casing.
- Loosen the lime deposit in its own soup and wipe rotor and casing carefully clean with a cloth.
- Oil the valve as described above when reinserting it.
- Knock the bearing plate back fully onto the casing. This is important so that there is no up-and-down play!
Mistreated valves
For mistreated and therefore leaking valves of the traditional brands there is usually no satisfactory repair. Enlarging the rotors by electroplating (rebuilding the valves) can bring relief for a while, but often does not restore the necessary tightness and never restores the original running qualities. Replacing the whole valve set with a new one is expensive and often changes the instrument.
On Engelbert Schmid horns, mistreated valves can always be completely repaired – at a reasonable price! With this valve system the rotors can easily be exchanged, and the valve is restored to new condition. In the rare case of too much metal loss in the casings, these are recalibrated 1/10 mm larger and correspondingly larger rotors and bearing plates are fitted.
So should I just let things carry on like this? No – it pains me again and again to see how long horn players struggle with inefficient, leaking horns, and that they usually have to pay for the not exactly cheap repair themselves, because they cannot hold anybody responsible for it.